Push
- 1.
Overview:
With Push Notification Campaigns, you can reach to your users in the most contextually personalized way possible. Send the right message to the right people at the right time, add to this Geofencing, Geotargeting & A/B Testing and you have the most concise way of reaching out to your users to boost engagement and conversion with Push Notifications. - Common Push Campaign Use Cases
- (a) Notify users about new features and activities based on their interest
- (b) Congratulate them on their achievements or completion of any transactional activity
- (c) Send local deals/offers and time sensitive information
- 2.
Getting Started:
To start launching push campaigns, you will have to configure your app with App42 Push Notification Service. Check Android Tutorial or iOS Tutorial to complete the configuration process. You will require a subscription to App42 Push Notification Service. Contact us to get started.
- 3.
Name Your Campaign:
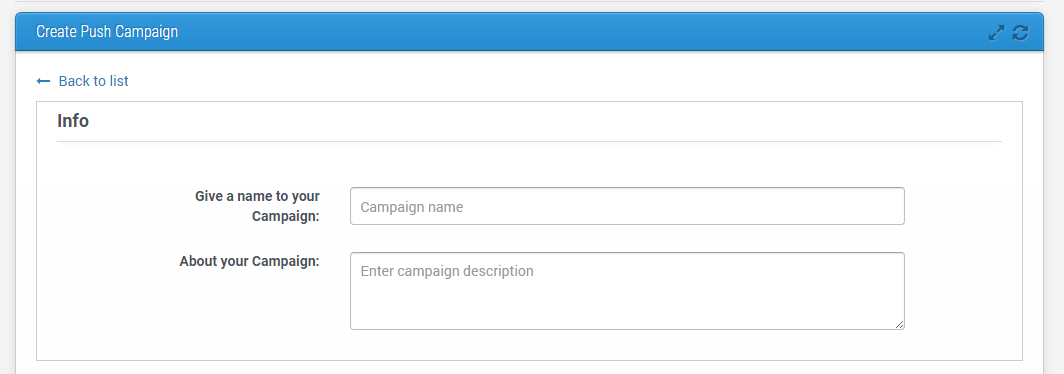
Always a good idea to give a relevant name and description to your campaign, for it will be easier for you to keep track of all them just by looking at their names. -
- 4.
Select an Audience:
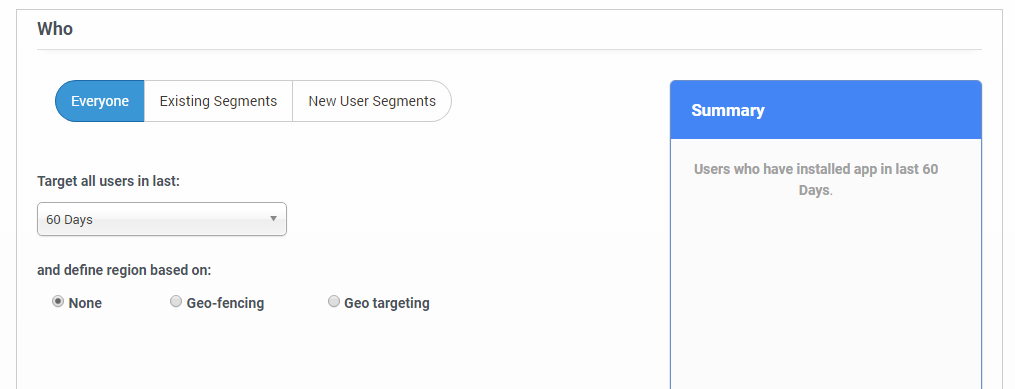
You could choose the entire user list for, let’s say, a very generic announcement or message, but it is always better to send personalized messages to each segment. You can either choose an already created segment or create one right here. -
- 5.
Geotargeting:
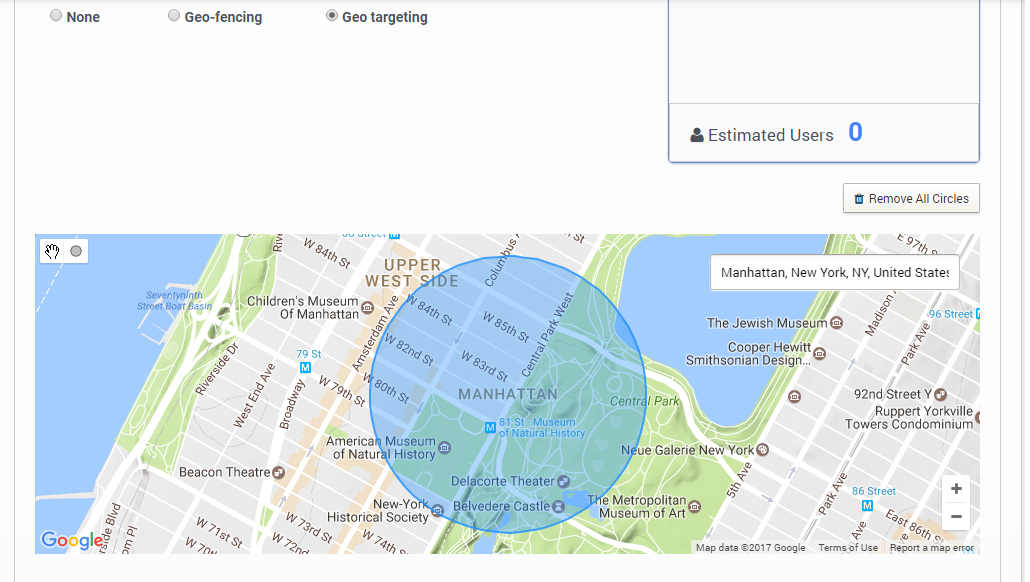
If you would like to target users in a particular location, you should choose geotargeting while making a selection of your audience. Let’s say you choose all 22 year old Men who have added Jeans in their cart and select Manhattan as geo location, then the push notification will only be shown to users who are currently in Manhattan. - Note: Push Notification, in this case, will be sent to all the estimated users in the segment but will be shown only to users who are in Manhattan.
-
- 6.
Geofencing:
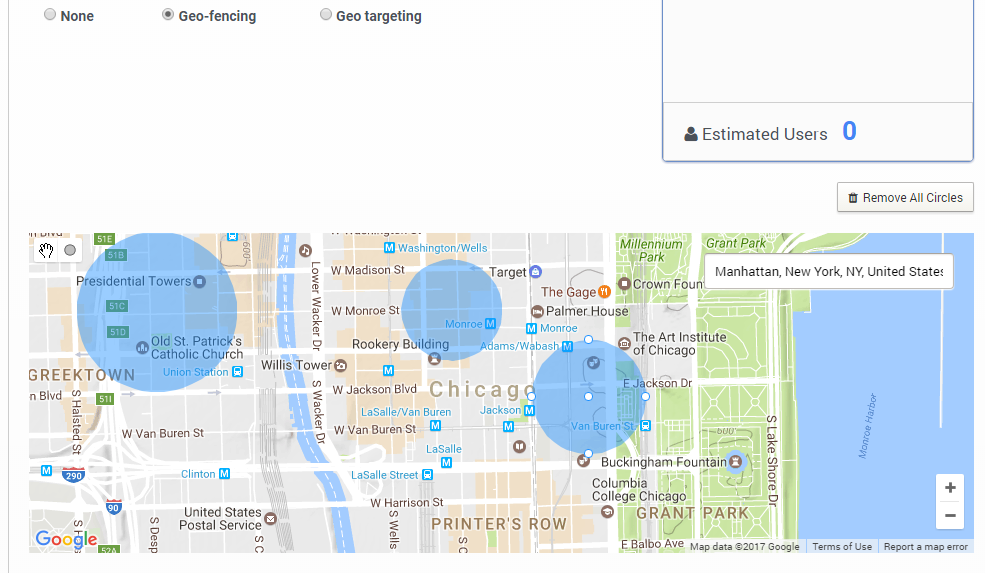
This feature allows you to launch campaigns where you can create unlimited virtual fences and control when your users receive your push notification. Unlike geotargeting where only those users who are currently in that selected location will receive notifications, here anyone in your segment who is either entering, exiting or even dwelling inside the fence can receive notification. Let’s say you create a fence around your retail store then you can target app users in 3 ways: - (a)If you’re running a flash sale, you can target people as soon as they enter the fence and let them know about your deals/offers
- (b)If you know your users have visited a particular product on the website or the app, you can let them know that same product is available inside the store after they have spent sometime
- (c)If you would like your users to visit again, you can send a notification about a coupon code that they can redeem in their next visit to store as soon as they exit the fence
- Note: Invisible notifications will be sent to the entire estimated users of the segment for device configuration. Then, as per your campaign configuration, created push notifications will be sent to the users.
-
- 7.
Messaging:
To send personalized notifications, click the icon next to message box or just type { to start choosing from the available super properties. Choose the preferred channel—be it Android, iOS, Windows, or any of the browsers and add badge & sound if you would like to. 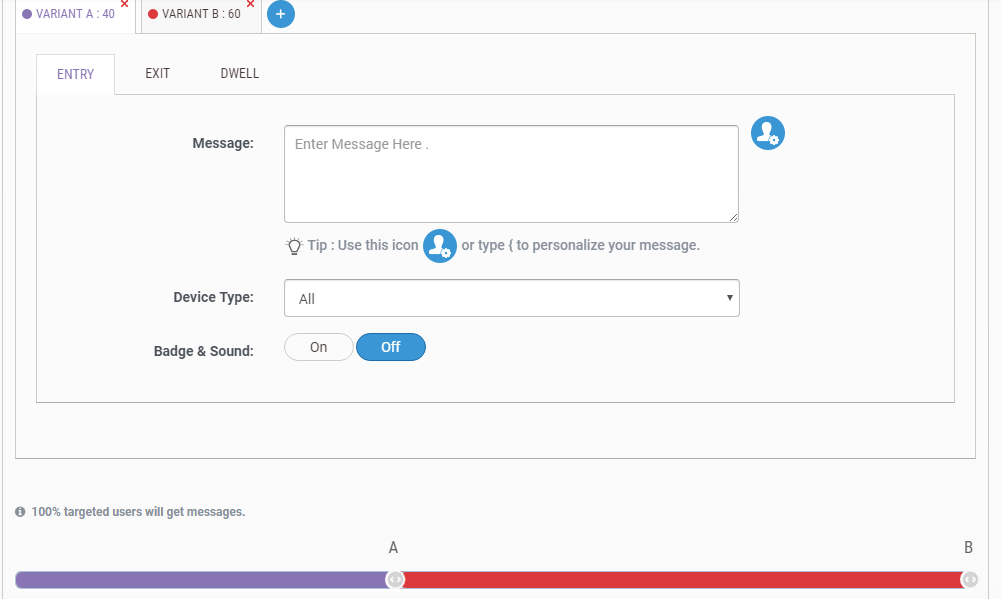
- 8.
A/B Testing:
Here lies the beauty of Push Campaigns, you can let your imagination run wild. A/B Testing allows you to create multiple variants of your push notification so that you can track which variant is getting you more results. You can even control what percentage of your segments receives each variant.
- 9.
Scheduling:
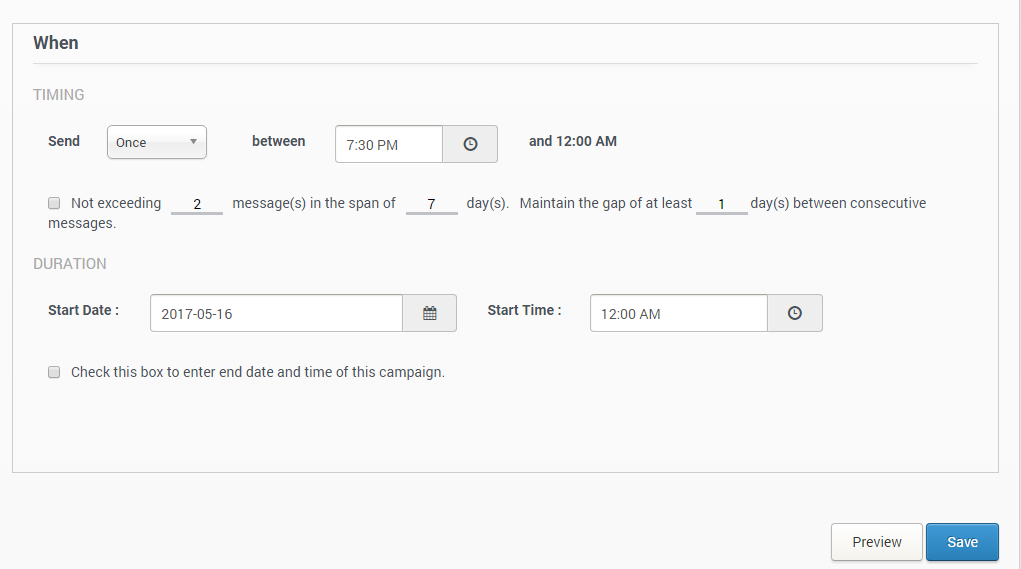
There are various ways you can schedule your push campaign. If you choose: - (a)Once: The push notification will be sent to your users between your entered time and 12:00 AM. For instance, if the duration is between 7:30 PM and 12:00 AM, then the push will only sent during this duration regardless of the time the events are triggered—which means if someone triggers the event at 5:30 PM, they will receive the push notification around 7:30 PM and if someone triggers the event 9:00 PM, they will receive it instantly. You can also control how many times your selected segment receives the push notification by ticking the check box & filling in the blanks of this statement. Note: You can choose to make this an ongoing campaign or give it an end date.
- (a)Daily: The push notification will be sent to users daily at the selected time as soon as they trigger the event.
- (b)Alternate: The push notification will be sent every alternate day at the selected time to the segmented users as soon as they trigger the event.
- (c)Weekly: Select your preferred day, the push will be sent to users every week on that day at the selected time as soon as they trigger the event.
- (d) Monthly: Select your preferred date, the push will be sent to users every month on that date at the selected time as soon as they trigger the event.
- (e)Yearly: Select your preferred month and date, the push will be sent to users every year on that month and date at the selected time as soon as they trigger the event.
- Click to preview your entire campaign. Click on Save to launch.
