In App Messages
- 1.
Overview:
In-app messages give app marketers the ability to show messages at the right moments to segmented customers within the app, which makes them primed to facilitate more useful, targeted customer engagement. Because of its prolonged character count and ability to include images, in-app messages give brands more flexibility and allow for more creativity with content. - Common In-App Notification Use Cases
- (a)Notify users about newly launched features and sections in your app
- (b)Onboarding of your users when they open the app for the first time
- (c)Crossselling and upselling for users who have just made a purchase
- 2.
Getting Started:
To start launching in-app campaigns, you will have to configure your app with the in-app messaging settings here.
- 3.
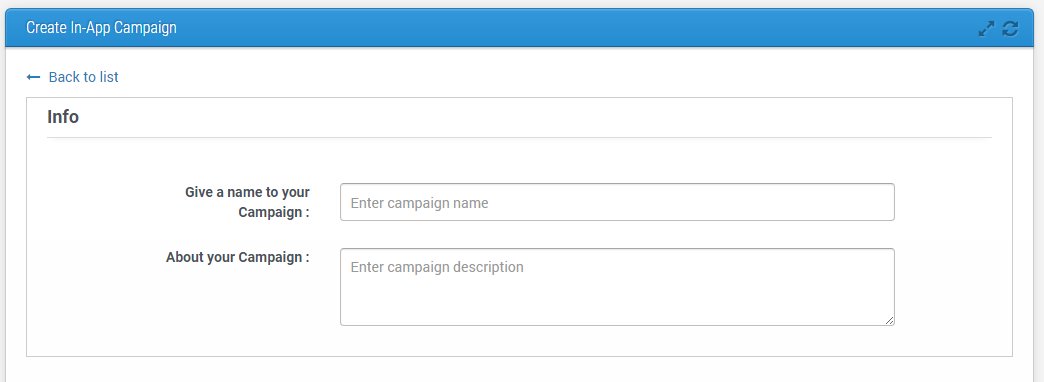
Name Your Campaign:
Always a good idea to give a relevant name and description to your campaign, for it will be easier for you to keep track of all them just by looking at their names. 
- 4.
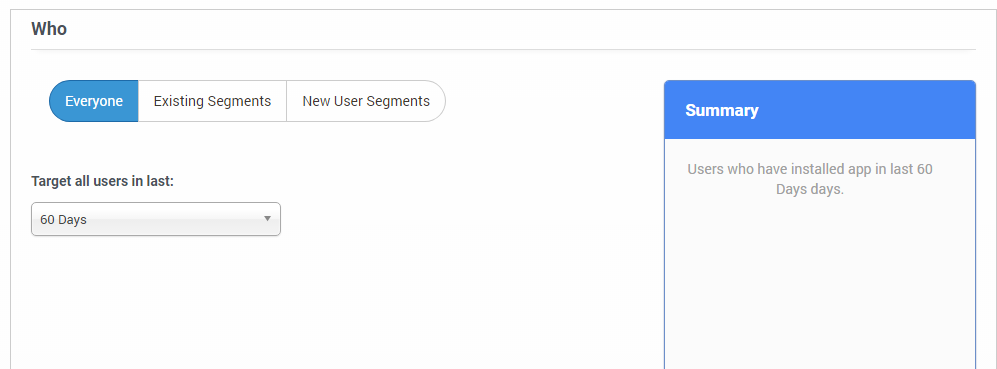
Select an Audience:
You could choose the entire user list for, let’s say, a very generic announcement or message, but it is always better to send personalized messages to each segment. You can either choose an already created segment or create one right here. 
- 5.
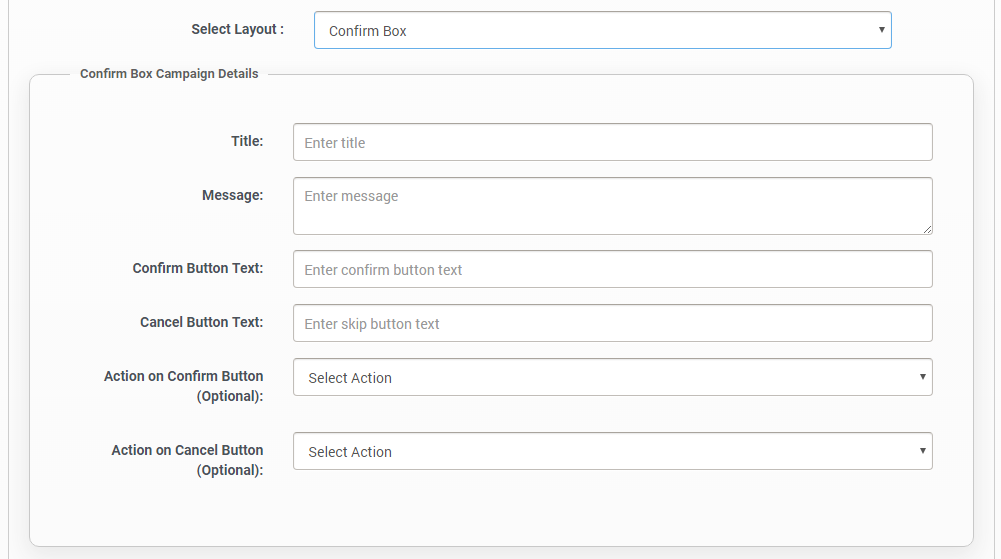
Layout:
In App42 MA, there are 3 distinct ways of configuring an in-app message: - (a)Fullscreen: With our WYSIWYG In-App Message builder, you can easily create rich and dynamic in-app messages without relying on tech/design team

- (b)Alert: The simplest form of In-App Message where you can show a text-only message having an ‘okay’ button to your users

- (c)Confirm Box: Similar to Alert layout, except you can show and control the action of two buttons in the message

- 6.
WYSIWYG Full Screen In-App Message Builder:
Simply start with the positioning of your In-App Message—be it center, bottom or top. Choose the background color or enter the desired HTML color code, and the URL of the image you would like to go with. If you prefer users close the In-App Message themeselves then choose Manual in Cross Enabled section or go with Automate and enter the number of seconds after which your In-App Message would disappear by itself. 
- Next step is to choose the layout of your In-App Message which involves placement of the copy and the image. If you choose a layout that involves both text and image, you would have to provide the URL of the image that will be placed with the text, and if you choose Background Image layout then simply proceed with the actions.
- For text, choose your preferred font and enter the copy of your In-App Message.
- On the right hand side, you can continuously visualize how your In-App Message is going to appear based on your design configuration.

- 8.
Actions:
The full screen In-App Messages have two buttons—one of them being cross and the other being the message itself. For both of these, there are four posssible action points: - (a)Track Event: If you would just like to keep a separate track of all the In-App Messages, go ahead with this option
- (b)A/B Test: If you like to run an already created A/B Test using App42 Cloud API, you can choose to run them here upon click on the message
- (c)Custom Code: You may also run a custom cloud code as soon as anybody clicks on your message. Pass on the JSON if needed
- (d)URL: Take your users to a custom URL after they click on your In-App Mess

- Next step is to choose the layout of your In-App Message which involves placement of the copy and the image. If you choose a layout that involves both text and image, you would have to provide the URL of the image that will be placed with the text, and if you choose Background Image layout then simply proceed with the actions.
- For text, choose your preferred font and enter the copy of your In-App Message.
- On the right hand side, you can continuously visualize how your In-App Message is going to appear based on your design configuration.

- 8.
Scheduling:
There are various ways you can schedule your In-App campaign. Just mark the duration of the campaign and if you choose: - (a)On Session Start: The In-App Message will be displayed to all users who fire the app post the launch of the campaign
- (b)On Event: Wait for the desired event to be triggered and instantly show them the In-App Message
- Frequency & Recurrence: You can enter how many times the In-App Message is displayed to your users and control the recurrence by choosing among daily, weekly, monthly and yearly
- Click to preview your entire campaign. Click on Save to launch.
- On the right hand side, you can continuously visualize how your In-App Message is going to appear based on your design configuration.


